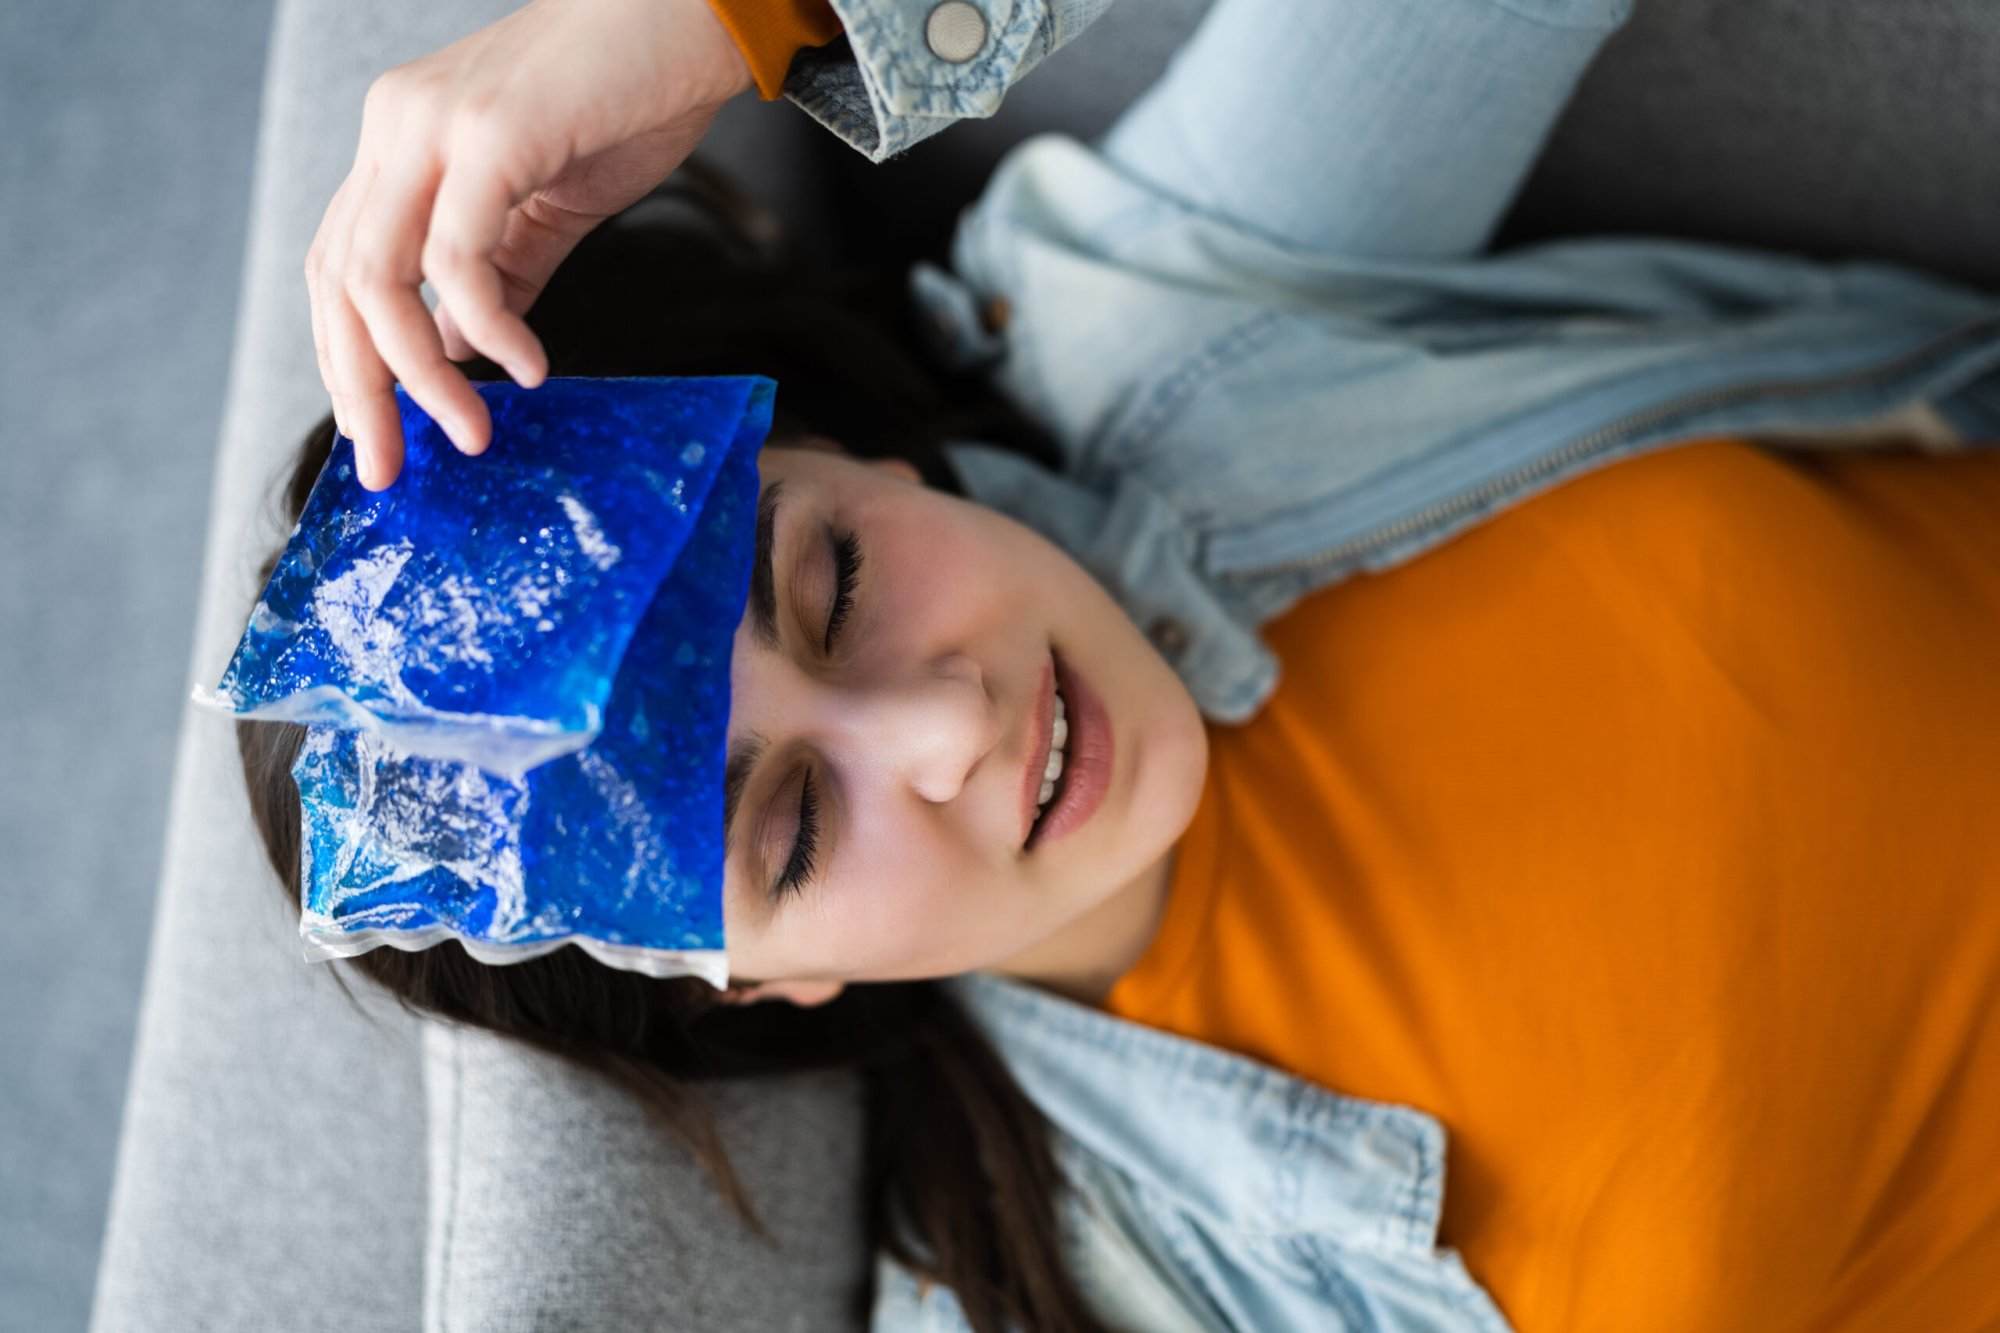
WORLD – If you’re trying to cool down this summer, a gel ice pack is a great help. It’s easy to make your own. Here’s what you’ll need:
- Reusable zip-top bag
- Water
- Rubbing alcohol
- Dish soap
- Food coloring
Instructions:
- Add 2 parts water to 1 part rubbing alcohol in a sturdy, reusable zip-top bag. Adjust the amount of alcohol to make the pack firmer or softer.
- Add a dash of dish soap to prevent the gel from sticking to the bag.
- Optionally, add food coloring of your choice to customize the pack’s color.
- Remove as much air as possible from the bag before sealing it.
- Seal the bag and lay it flat in the freezer for a few hours or overnight.
- When ready to use, take the pack from the freezer and apply it to the affected area.
- Refreeze the pack after use for reuse as needed.
For a nontoxic ice pack option, you can make a DIY corn syrup ice pack. This alternative keeps the pack soft and flexible and is safe to use around children. Here’s what you’ll need:
- Reusable zip-top bag
- Corn syrup
Instructions:
- Pour corn syrup into a zip-top bag of your choosing.
- Remove as much air as possible from the bag before sealing it.
- Seal the bag and lay it flat in the freezer for a few hours or overnight.
- When ready to use, place the pack in a lunchbox or apply it to an injury.
- Refreeze the pack after use for reuse as needed.
Tip: Another easy, nontoxic DIY ice pack option for kids’ lunches is to freeze wet sponges in a reusable zip-top bag. This way, if they thaw in the lunchbox, they won’t leak and ruin the food.


